Tutorial
Emmet for the Antsy
Originally published in The NINPOJineous on April 13, 2016.
General Overview
As hobbyists, we spend a lot of time building our sites. We carefully write our HTML and CSS markup from top to bottom, making sure all the tags are properly closed before errors start piling up all over our work. But then, there are those moments when we just can’t wait to get our sites finished. We get antsy trying to launch everything right away, even without a real deadline. On the other hand, there are also the procrastinators among us, rushing through everything at the last minute and hoping it’ll somehow all work before launch day.
Even though HTML and CSS aren’t necessarily difficult to learn, writing clean markup can still be frustrating. Maybe we missed a closing tag or accidentally left out a tiny character somewhere. Unlike normal writing, where readers might overlook a grammatical or spelling mistake, one missing character in your code can completely break an entire layout. And when that happens, we tend to lose our cool and blame the text editor for not catching the mistake before we upload everything to the server. Maybe not.
So how can we make writing HTML and CSS a whole lot easier without all the hassle and headaches caused by tiny markup mistakes?
How about writing HTML that looks something like this?
<!DOCTYPE html>
    <html>
      <head>
       <meta charset="UTF-8">
        <title>Emmet Test</title>
      </head>
      <body>
      <!-- This line right here. Looks like CSS, huh? -->
        div>ul>li*5
      </body>
    </html>
And then, when you press the tab key after typing that strange line full of special characters, this happens:
<!DOCTYPE html>
  <html>
    <head>
      <meta charset="UTF-8">
      <title>Emmet Test</title>
    </head>
    <body>
      <div>
        <ul>
          <li></li>
          <li></li>
          <li></li>
          <li></li>
          <li></li>
        </ul>
      </div>
    </body>
  </html>
With just a few familiar HTML tags — without all the greater-than, less-than, and forward slash characters — plus a few symbols that might look more like CSS syntax, and a quick tap of the tab key, you can generate an entire HTML block in seconds.
Let’s break down this little line:
div>ul>li*5Elements
The three elements in this line: div, ul, and li – tell the editor which HTML tags to generate.
The greater-than sign > tells the next element to be nested inside the previous one.
And finally, *5 at the end, the editor repeats the li element five times.
This form of abbreviated coding is called Emmet.
With Emmet support enabled in your text editor, not only can it save you a lot of time, but it can also help reduce the stress and headaches that come from reviewing large blocks of markup line by line just to make sure every tag is properly closed and no important character is missing.
Um, okay, so what (or who?) the heck is Emmet?
Emmet is a plugin (yes, a plugin) for your favorite text editor, in which you as an antsy coding procrastinator would use simple, familiar CSS syntax to populate HTML elements in your markup for faster, cleaner markup structure without the hassle of copying and pasting the same elements or even checking and editing your entire structure to be sure that all your tags are closed or if you’ve got all the necessary quotation marks in place. (Whew, that’s a mouthful!)
When I say favorite text editor, I’m not talking about your Windows default Notepad application here, which some coders love to show off when they talk about how they built their sites with it. I’m talking about those awesome text editors and IDEs created specifically for coding and programming, like Sublime Text, Notepad++, Brackets, Atom, and even those WYSIWYG editors like Adobe Dreamweaver. Emmet also supports online IDEs like JSFiddle, CodePen, and Codio.
Editor’s Note (2026)
When this tutorial was originally written in 2016, Emmet was still commonly installed as a plugin or extension for many editors. Some editors mentioned here, such as Brackets and Atom, were extremely popular among web developers at the time but have since been discontinued. Today, Emmet functionality is built into modern editors like VS Code by default.
2016
- Emmet was first released as a free code editor plugin. Back then, those interested in using Emmet had to download and install the plugin in their preferred code editor that supported plugins.
- The stable version of VS Code v. 1.0 was released on April 29, 2016, a few weeks after this tutorial was published.
2026
- Today, Emmet is built into today’s modern code editors and IDEs. Standalone Emmet plugins are still available for developers using editors without built-in Emmet support. However, please check Emmet’s repo for their changelogs before downloading and installing.
- Brackets was discontinued by Adobe on September 1, 2021. The developers behind Brackets created their new replacement upgrade, Phoenix Code. You can download the desktop version (free) or use its web editor on the browser.
- Atom was discontinued by GitHub on December 15, 2022. You can find the public archive here.
- Codio used to be a free cloud-based code editor. Today, it is a paid program aimed at businesses and organizations. There are better (and free!) cloud-based web code editors around. VS Code Web is a good alternative.
A Super-Quick History of Emmet
An early version of Emmet, called Zen Coding, began around 2008. It was described as an “abbreviation engine” —- a collection of plugins that helped developers generate HTML, XML, XSL, and other structured markup more quickly through shorthand syntax and code expansion.
Zen Coding became popular among web developers and frontend designers, eventually evolving into what we now know as Emmet.
The Benefits of Emmet
Here are a few benefits of using Emmet for your text editor:
- It’s very easy to learn, especially if you’re familiar with CSS syntax. Think of Emmet as the web designer/developer’s version of Markdown.
- It’s consistent throughout all the text editors, so if you decide to change your text editor (from Notepad++ to Sublime Text, for example) and if it has Emmet support, you just need to install the Emmet plugin, and you’re good to go. You can also choose a text editor with built-in Emmet, such as VS Code.
- You are a fan of the
tabkey and keyboard shortcuts. Emmet will require you to use yourtabkey a lot to generate your snippet, or, depending on the text editor you’re using, even make things faster by using some keyboard shortcuts. - If you’re the kind of developer who gets impatient waiting to finish layouts and launch projects, Emmet helps speed up repetitive markup work considerably.
- The syntax that Emmet generates is valid code, so you wouldn’t have to worry about running your markup through the HTML validator.
Sample! Sample!
We are about to begin our Emmet tutorial. Let’s begin!
-
Open up your preferred coding editor/IDE. You can also use a cloud-based web editor such as VS Code for the Web if you prefer to code in a web browser.
-
Create a sample HTML file. Name it
sample.html,sample-emmet.html, or whatever you like. In my case, I named my fileemmet-sample.html.
-
Type an
!on your editor and press thetabkey right after. Your editor will generate a complete HTML boilerplate for you.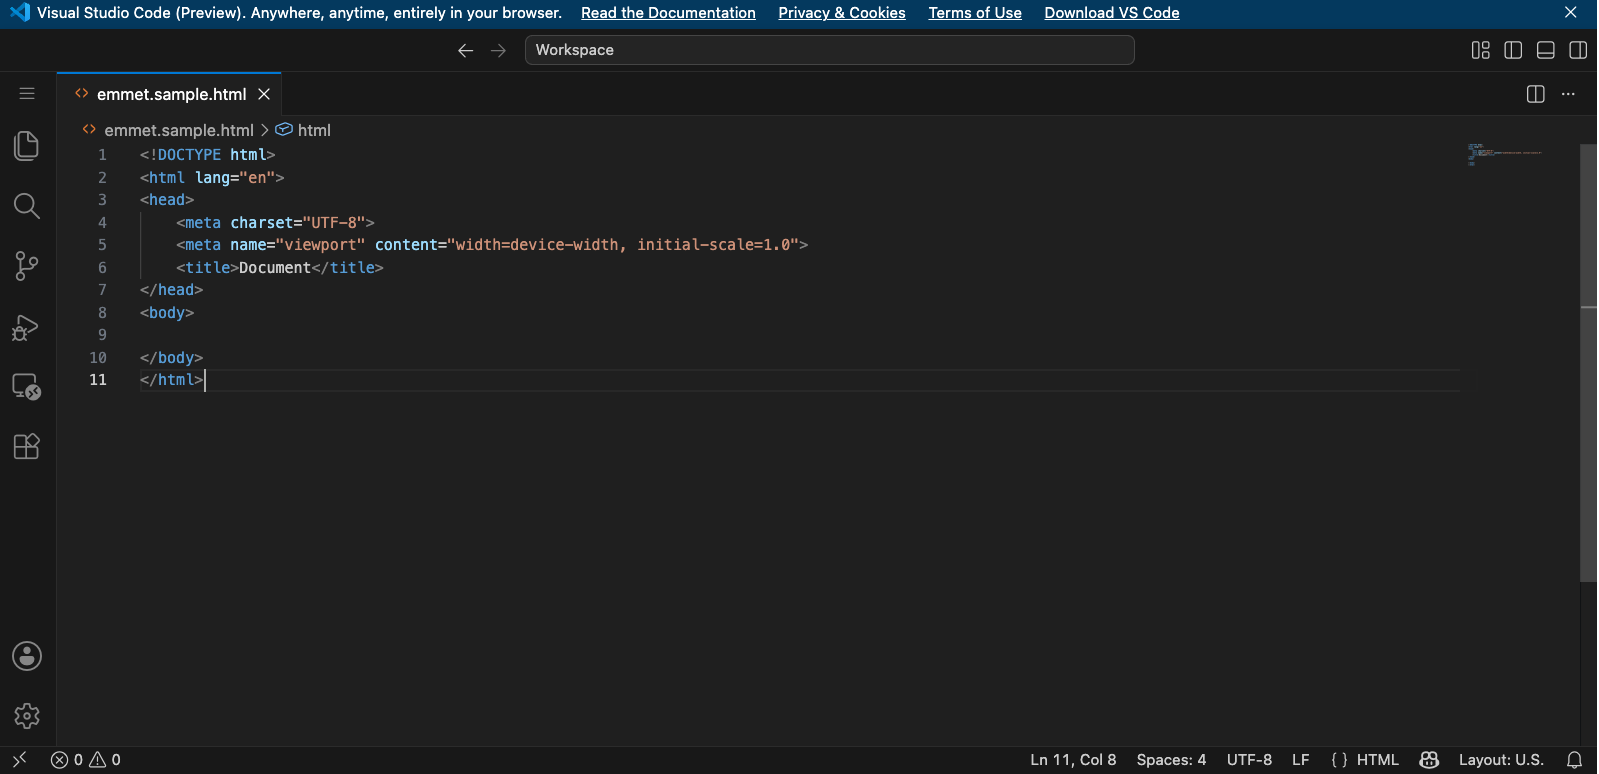
That one single ! and a press of the tab key have saved you minutes of typing the entire boilerplate before you can even start coding.
The standard boilerplate (as of 2026) is generated. Please read the commented text in the code block below.
<!--

EMMET STANDARD HTML BOILERPLATE

1. The default DOCTYPE is HTML5.
2. The default <meta> markup includes the charset (UTF-8)
3. <meta name="viewport" content="width=device-width, initial-scale:1.0"> makes your site responsive to different sizes devices, such as tablets and smartphones

-->

<!DOCTYPE html>
<html lang="en">
<head>
    <meta charset="UTF-8">
    <meta name="viewport" content="width=device-width, initial-scale=1.0">
    <title>Document</title>
</head>
<body>

</body>
</html>
From here on, we’re finally going to dig deep into Emmet’s detailed markup
Editor’s Note (2026)
When this tutorial was originally written in 2016, many hobbyist web developers still used older XHTML or HTML4 doctypes alongside HTML5. Today, for most modern websites and projects, you typically only need:
<!DOCTYPE html>This simple HTML5 doctype triggers standards mode in modern browsers and is now the standard across modern web development.
Classes, IDs, and Text Content
Let’s say you want to quickly create a container <div> with an ID of container
Normally, you might write:
<div id="container"></div>With Emmet, you can simply type:
div#containerThen press the tab key.
Emmet will automatically expand it into the full HTML element.
You can even omit the div entirely:
#containerSince Emmet assumes div by default when only an ID or class is provided.
This same rule also applies to classes.
<!-- Do not forget to press the Tab key right at the end! -->

div.maintext
.maintext

<!-- Both versions will generate the same result:

<div class="maintext"></div>

Do not forget to press the Tab key right after! -->
You can also combine an HTML element with the classes and IDs:
p#hero <!-- Result: <p id="hero"></p> -->
p.subtext <!-- Result: <p class="subtext"></p>
Using Emmet to write text content
Let’s go further by writing our text using Emmet. We cover our text with curly brackets { }:
<!-- Result:
<p id="hero">The quick brown fox jumps over the lazy dog.
It kept racing out in the forest. The moon is beautiful tonight.</p>
-->

p#hero{The quick brown fox jumps over the lazy dog. It kept racing out in the forest. The moon is beautifiul tonight.}
Once again, don’t forget to press the tab key!
Attributes
In this example, we’re going to add an image to our page using Emmet:
img[src="/images/moon-pearl-cafe.jpg" alt="Moon Pearl Café at night"]We use the [ ] brackets right after the element img to wrap around our attributes (src, alt). Everything else should remain the same.
In this next example, we will be adding a text link:
a[href="<https://adrianne.codes>" target="_blank" rel="noopener noreferrer"]{Adrianne Codes}Again, we use the [ ] brackets right after the element a to wrap around our attributes. In this case, href, target, rel. For our linked text, we wrap with { }. In this case, the text we want to link is Adrianne Codes.
NOTE: Today, when using target="_blank", developers also commonly add rel="noopener noreferrer" for security reasons.
Nesting
Let’s say we want to write a code block that has a variety of elements, IDs, and classes. We want our code block to result in this:
<div id="container">
  <p class="cuties"></p>
  <span class="cuties"></span>
  <a class="linkie"></a>
</div>
Using Emmet, we write our line for the above code block:
div#container>p.cuties+span.cuties+a.linkieWhat about this code block?
<div id="container">
  <h1 class="title"></h1>
  <p class="cuties"></p>
  <span class="cuties"></span>
  <a class="linkie"></a>
</div>
We write our Emmet line like this:
div#container>h1.title+p.cuties+span.cuties+a.linkieWhat if we want to write all of our text content together, like the example below?
<div id="container">
  <p class="cuties">
    Anything can happen if you believe in it.
  </p>
</div>

<blockquote>
  Everything will surely be alright.
</blockquote>
Our Emmet line would look like this:
div#container>p.cuties{Anything can happen if you believe in it.}^blockquote{Everything will surely be alright.}It’s getting a bit messy and complicated, right?
Let’s break down all our Emmet elements that we used from the above examples:
-
Child Operator (
>)>moves downward into a child element -
Sibling Operator (
+)+creates siblings on the same level -
Climb-Up Operator (
^)^climbs back upward one level
Going back to the last example, let’s break down what Emmet is generating behind the scenes:
<!-- div#container -->
<div id="container">
  <!-- >p.cuties -->
  <p class="cuties">
    <!-- {Anything can happen if you believe in it.} -->
    Anything can happen if you believe in it.
  </p>
</div>

<!-- ^blockquote -->
<blockquote>
  <!-- {Everything will surely be alright.} -->
  Everything will surely be alright.
</blockquote>

<!-- Shoutout to the manga goddesses CLAMP, creators of Card Captor Sakura, for the lovely quotes used in this example -->
Grouping
Let’s say we want to make three duplicate cards in our code:
<div class="card">
    <h2 class="card-title"></h2>
        <p class="card-text"></p>
</div>
<div class="card">
    <h2 class="card-title"></h2>
        <p class="card-text"></p>
</div>
<div class="card">
    <h2 class="card-title"></h2>
        <p class="card-text"></p>
</div>
We will be writing our Emmet shortcuts this way:
(div.card>h2.card-title+p.card-text)*3We will break down the Emmet shortcut with the code block above in comments:
<!--

The parentheses ( ) are used to wrap our elements, then multiply them by 3 (*3) to duplicate three cards.

-->

<!-- div.card -->
<div class="card">
    <!-- >h2.card-title -->
    <h2 class="card-title"></h2>
        <!-- +p.card-text -->
        <p class="card-text"></p>
</div>
<!-- div.card -->
<div class="card">
    <!-- >h2.card-title -->
    <h2 class="card-title"></h2>
        <!-- +p.card-text -->
        <p class="card-text"></p>
</div>
<!-- div.card -->
<div class="card">
    <!-- >h2.card-title -->
    <h2 class="card-title"></h2>
        <!-- +p.card-text -->
        <p class="card-text"></p>
</div>
Implicit Tag Names
Some HTML elements are commonly associated with parent elements. Emmet understands these relationships automatically.
For example:
ul>li*3 <!-- 3 list items in an unordered list -->Emmet understands that li elements belong inside a ul, so it generates:
<ul>
    <li></li>
    <li></li>
    <li></li>
</ul>
Another example:
table>tr*2>td*3 <!-- 2 rows, 3 boxes/cells per row -->Which becomes:
<table>
  <tr>
    <td></td>
    <td></td>
    <td></td>
  </tr>
  <tr>
    <td></td>
    <td></td>
    <td></td>
  </tr>
</table>
Emmet recognizes that:
trelements belong inside tablestdelements belong inside table rowslielements belong inside lists
Multiplication
You have seen the past examples where you see multiplication operators like *2 and *3 so far. Multiplying elements as if they’re numbers is still very practical.
Example:
ol>li.menu-item*5 <!-- 5 list items with the class "menu-item" in an ordered list -->will result in:
<ol>
    <li class="menu-item"></li>
    <li class="menu-item"></li>
    <li class="menu-item"></li>
    <li class="menu-item"></li>
    <li class="menu-item"></li>
</ol>
Instead of writing duplicate code manually, just multiply the elements by the number of times you want the generated code duplicated. In this instance, we duplicated the list items five times in this ordered list.
Numbering
Suppose we want a list of names, but we want them listed in different colors. Emmet can do this for us:
li.item-$*5 <!-- 5 names in different colors (in this case, CSS classes) -->Breakdown:
li= create list items.item-$= class name with a number placeholder5= create five of them
Generated output:
<li class="item-1"></li>
<li class="item-2"></li>
<li class="item-3"></li>
<li class="item-4"></li>
<li class="item-5"></li>

<!-- item-1, item-2, etc. tells us that each list item will have a different color and/or styling from each other. We just differentiate them by numbering the .item- classes -->
This is what we call numbering.
Here’s another example with IDs:
section#chapter-$*3 <!-- 3 sections with "chapter" IDs -->The output:
<section id="chapter-1"></section>
<section id="chapter-2"></section>
<section id="chapter-3"></section>
How about we get a little fancy?
img.thumbnail-$*4 <!-- 4 thumbnail images with different styling each -->The output:
<img class="thumbnail-1">
<img class="thumbnail-2">
<img class="thumbnail-3">
<img class="thumbnail-4">
The difference:
$acts as a numbering placeholder- controls how many elements are generated/duplicated
Lorem Ipsum Generator
One of Emmet’s most useful features is its built-in Lorem Ipsum generator.
Lorem Ipsum is placeholder text commonly used by designers and developers when building layouts, mockups, and content structures before the real content is ready.
Simply type lorem and press the tab key:
lorem… will give us the following:
Lorem ipsum, dolor sit amet consectetur adipisicing elit. Illum consequuntur neque vitae veniam ad iste deleniti aspernatur veritatis nihil quisquam repudiandae, dolore reprehenderit sint suscipit rerum quas id quia tenetur!If you want to control the length of the text, add a number next to it:
lorem20 <!-- Generates lorem ipsum text with only 20 words -->… will generate the following:
Lorem ipsum, dolor sit amet consectetur adipisicing elit. Est dolorem quidem perferendis eligendi, optio culpa cupiditate ducimus ratione fuga? Minima!We can combine with HTML elements:
p>lorem30… will give us…
<p>Lorem ipsum dolor sit amet consectetur adipisicing elit. Error quam cupiditate architecto? Maiores consequatur, possimus earum repudiandae ex pariatur laboriosam expedita ut sequi sapiente at asperiores? Consequuntur totam architecto magni!</p>Advanced Emmet combo:
article>h2{Moon Pearl Café}+p>lorem40This will generate this code block:
<article>
    <h2>Moon Pearl Cafe</h2>
        <p>Lorem ipsum dolor sit amet consectetur adipisicing   elit. Doloremque, nemo voluptatem molestias odio magni deserunt, pariatur obcaecati tempora iste voluptate, alias a. Aperiam nostrum accusantium quibusdam consequatur quos et pariatur ipsum vel blanditiis! Iste neque reiciendis quisquam officia dolorem cum.</p>
</article>
Editor’s Note (2026)
The original post did not include Emmet for CSS because I wasn’t familiar with it, and there are so many elements to use when writing CSS. Instead, we can bookmark the official documentation and the cheat sheet for reference.
Emmet for CSS
Emmet is not limited to HTML. Many modern editors also support Emmet abbreviations for CSS properties and values.
For example, we are styling the class .content with a margin of 10px.
.content {
    m10 /* m = margin, 10 = 10px */
}

/* Do not forget to press the Tab key or the ENTER key after typing "m10" */
Generates:
.content {
    margin: 10px;
}
Another example – this class defines a responsive component. We will be using flexbox.
.content {
    margin: 10px;
    df /* d = display, f = flex */
}
Generates:
.content {
    margin: 10px;
    display: flex;
}
Notes & Resources:
- CSS Emmet only works when a class, ID, or element is being styled by CSS properties. Therefore, Emmet only works inside the curly brackets (
{}). - Add a number next to the CSS property abbreviation (example
m10(margin: 10px) to add the attribute’s numerical value. - Emmet includes comprehensive documentation and an online cheat sheet (a PDF available for free download) for your reference.
- Using Emmet to code HTML and CSS is not required to learn, but it can help you become a faster, more efficient coder once you get used to the basics.
- VS Code users can also check the official VS Code Emmet documentation for editor-specific features and shortcuts.