I began the initial work for my next website project, **Forks**. More information on this project is coming soon, but that's all I'd like to share for now.
During my initial brainstorming, I would sketch a mockup (in my head) of how I'd like the Forks website laid out. Along with the mockup sketches, I also brainstorm how my site logo is going to look like. I have a digital design educational background, and no matter how much I delve deep into coding and development, the artist/designer within me still lingers.
But as we hobbyists and professionals know, SVGs are a necessity for our illustrated logos to be responsive across different screen sizes. We apply responsive web design in our CSS, so we do the same with our logos. After all, the logo gives our projects a unique brand, and it will be the first thing visitors look at when it's right at the center, clean and crisp.
I already knew how to convert transparent PNGs into SVGs using **Adobe Illustrator** on desktop. However, I purchased a new MacBook Air last year with only 256GB of internal space. Adobe software is a hog of internal space, and I had to uninstall the two storage-greedy apps from the Creative Suite: Illustrator and Photoshop. I have gotten used to creating my artwork and graphics on my iPad and have decided to download both Illustrator and Photoshop on it.
When I opened Illustrator for iPad, it looked like a whole different program than the Illustrator for desktop. In the desktop version, I could easily read the labels and find the functions I needed. In the iPad version, on the other hand, all I see are buttons and icons.
—
## My logo-making process, step by step
### I. Procreate
Procreate has become my go-to raster illustration program. I created my logo for Forks with only three colors: black (for the outline), gold, and silver, knowing vector illustrations are always flat colors.
Right after I finished, I exported the logo as a transparent PNG.
Photoshop used to be my go-to program, but it was primarily for creating digital graphics, not so much for digital illustration. You can create your raster images with any program you want. Or if you're an expert vector illustrator, just use a vector program like Illustrator to create your logo directly. I'm not very well-versed with Illustrator or any vector program like Affinity Designer or Inkscape, so I chose to create my logo using Procreate.
—
### II. Adobe Illustrator for iPad
Before this, I used the following for vector art conversions:
– [Affinity Designer 2](https://affinity.serif.com): Unfortunately, I blanked out when I opened this program on my iPad. I rarely do vector art conversions; therefore, I'm not used to using this software. I purchased this program years ago, before Affinity got acquired by Canva. Until the iPad version of Illustrator was released, I'm stuck with this program.
– **Adobe Express**: Did you know that this program can also convert transparent PNGs to SVGs? Unfortunately, the converter is very limited. It doesn't give you options on expanding the vectors to include colors as well. I decided to turn to another program.
– [Vectorizer.AI](https://vectorizer.ai): It's not free ($9.99/mo), so I skipped that one. I'm sure it does a really good job converting PNGs to SVGs with just a few prompts. But maybe it uses up a lot of power to get the AI to do its vectorizing properly.
– [VectorMaker](https://vectormaker.co): Very simple vector conversion service. Just upload your transparent PNG, and you've got your vector file, ready to be saved as an SVG image. I had one of my PNG logos converted with this method and it vectorizes it cleanly, so I was happy with the result. However, because it is on a web browser, you have to be online/have wi-fi access to get to it. I create all of my graphics with the iPad at random places besides home, and I'm the type who wants to get all my images ready-made before using them for final production. This was why I prefer having my own vectorizer that doesn't require a wi-fi access.
As much as I love VectorMaker, it also doesn't offer options to customize how my vector image looks. That is where Adobe Illustrator's vector conversion comes into play.
### 1. Open Adobe Illustrator and Create a New File
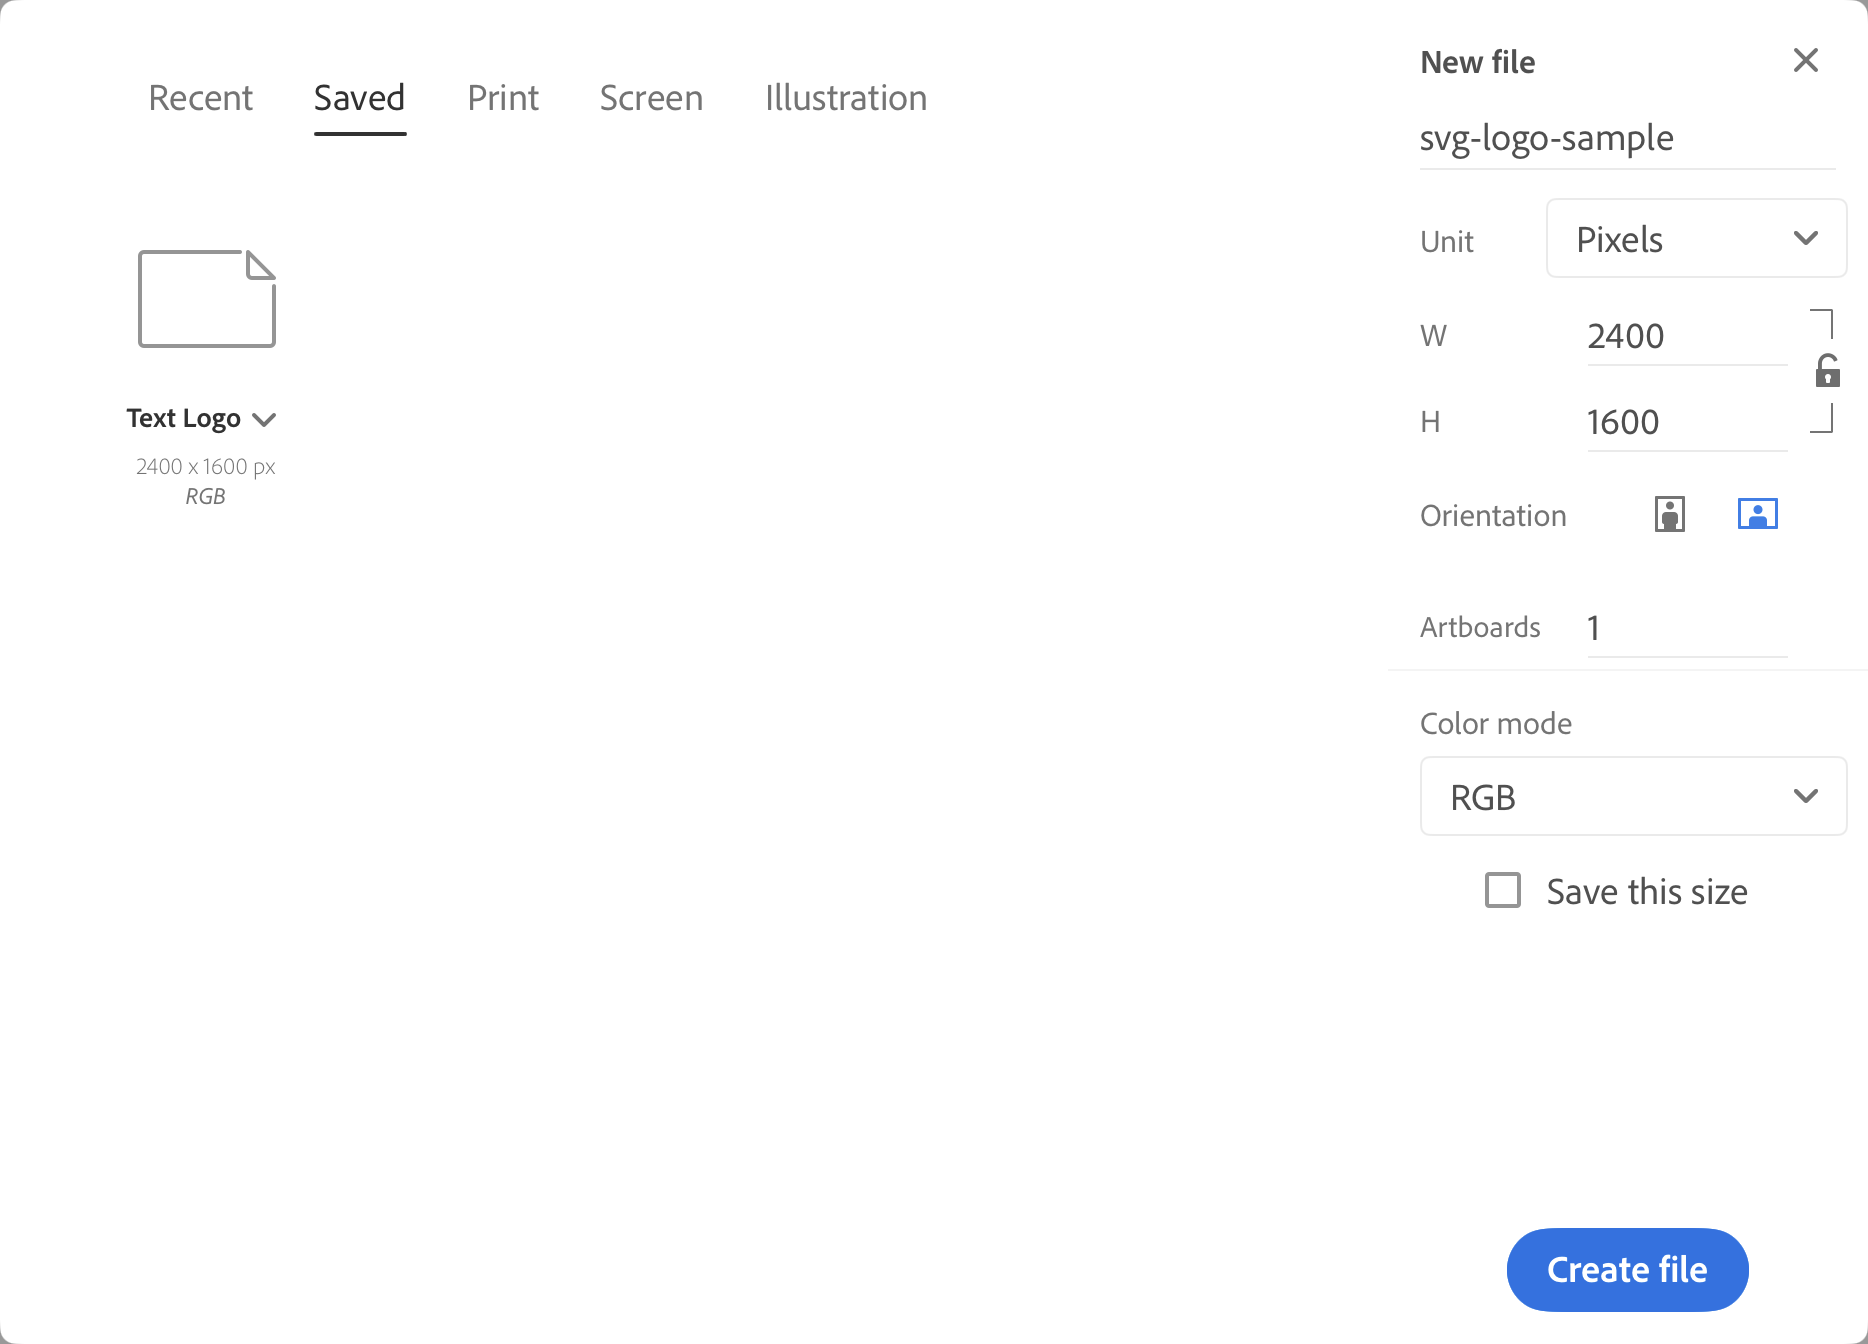
I created my logo on Procreate with a 2400 x 1600 canvas. Therefore, I use the same dimensions for my logo's artboard. You also have the option to create a preset for this size, which is what I did here (Text Logo).
Make sure you also name your file to the appropriate image name while you're at it.
### 2. Place the transparent PNG on the artboard
As you can see, there are mostly icons and buttons, and very few text labels. I had to click every single icon and button to find what I was looking for. To place your transparent PNG, click the image icon (the last icon before the first border). The PNG should occupy the entire artboard.
Keep the selection tool on for the next step, as shown below.
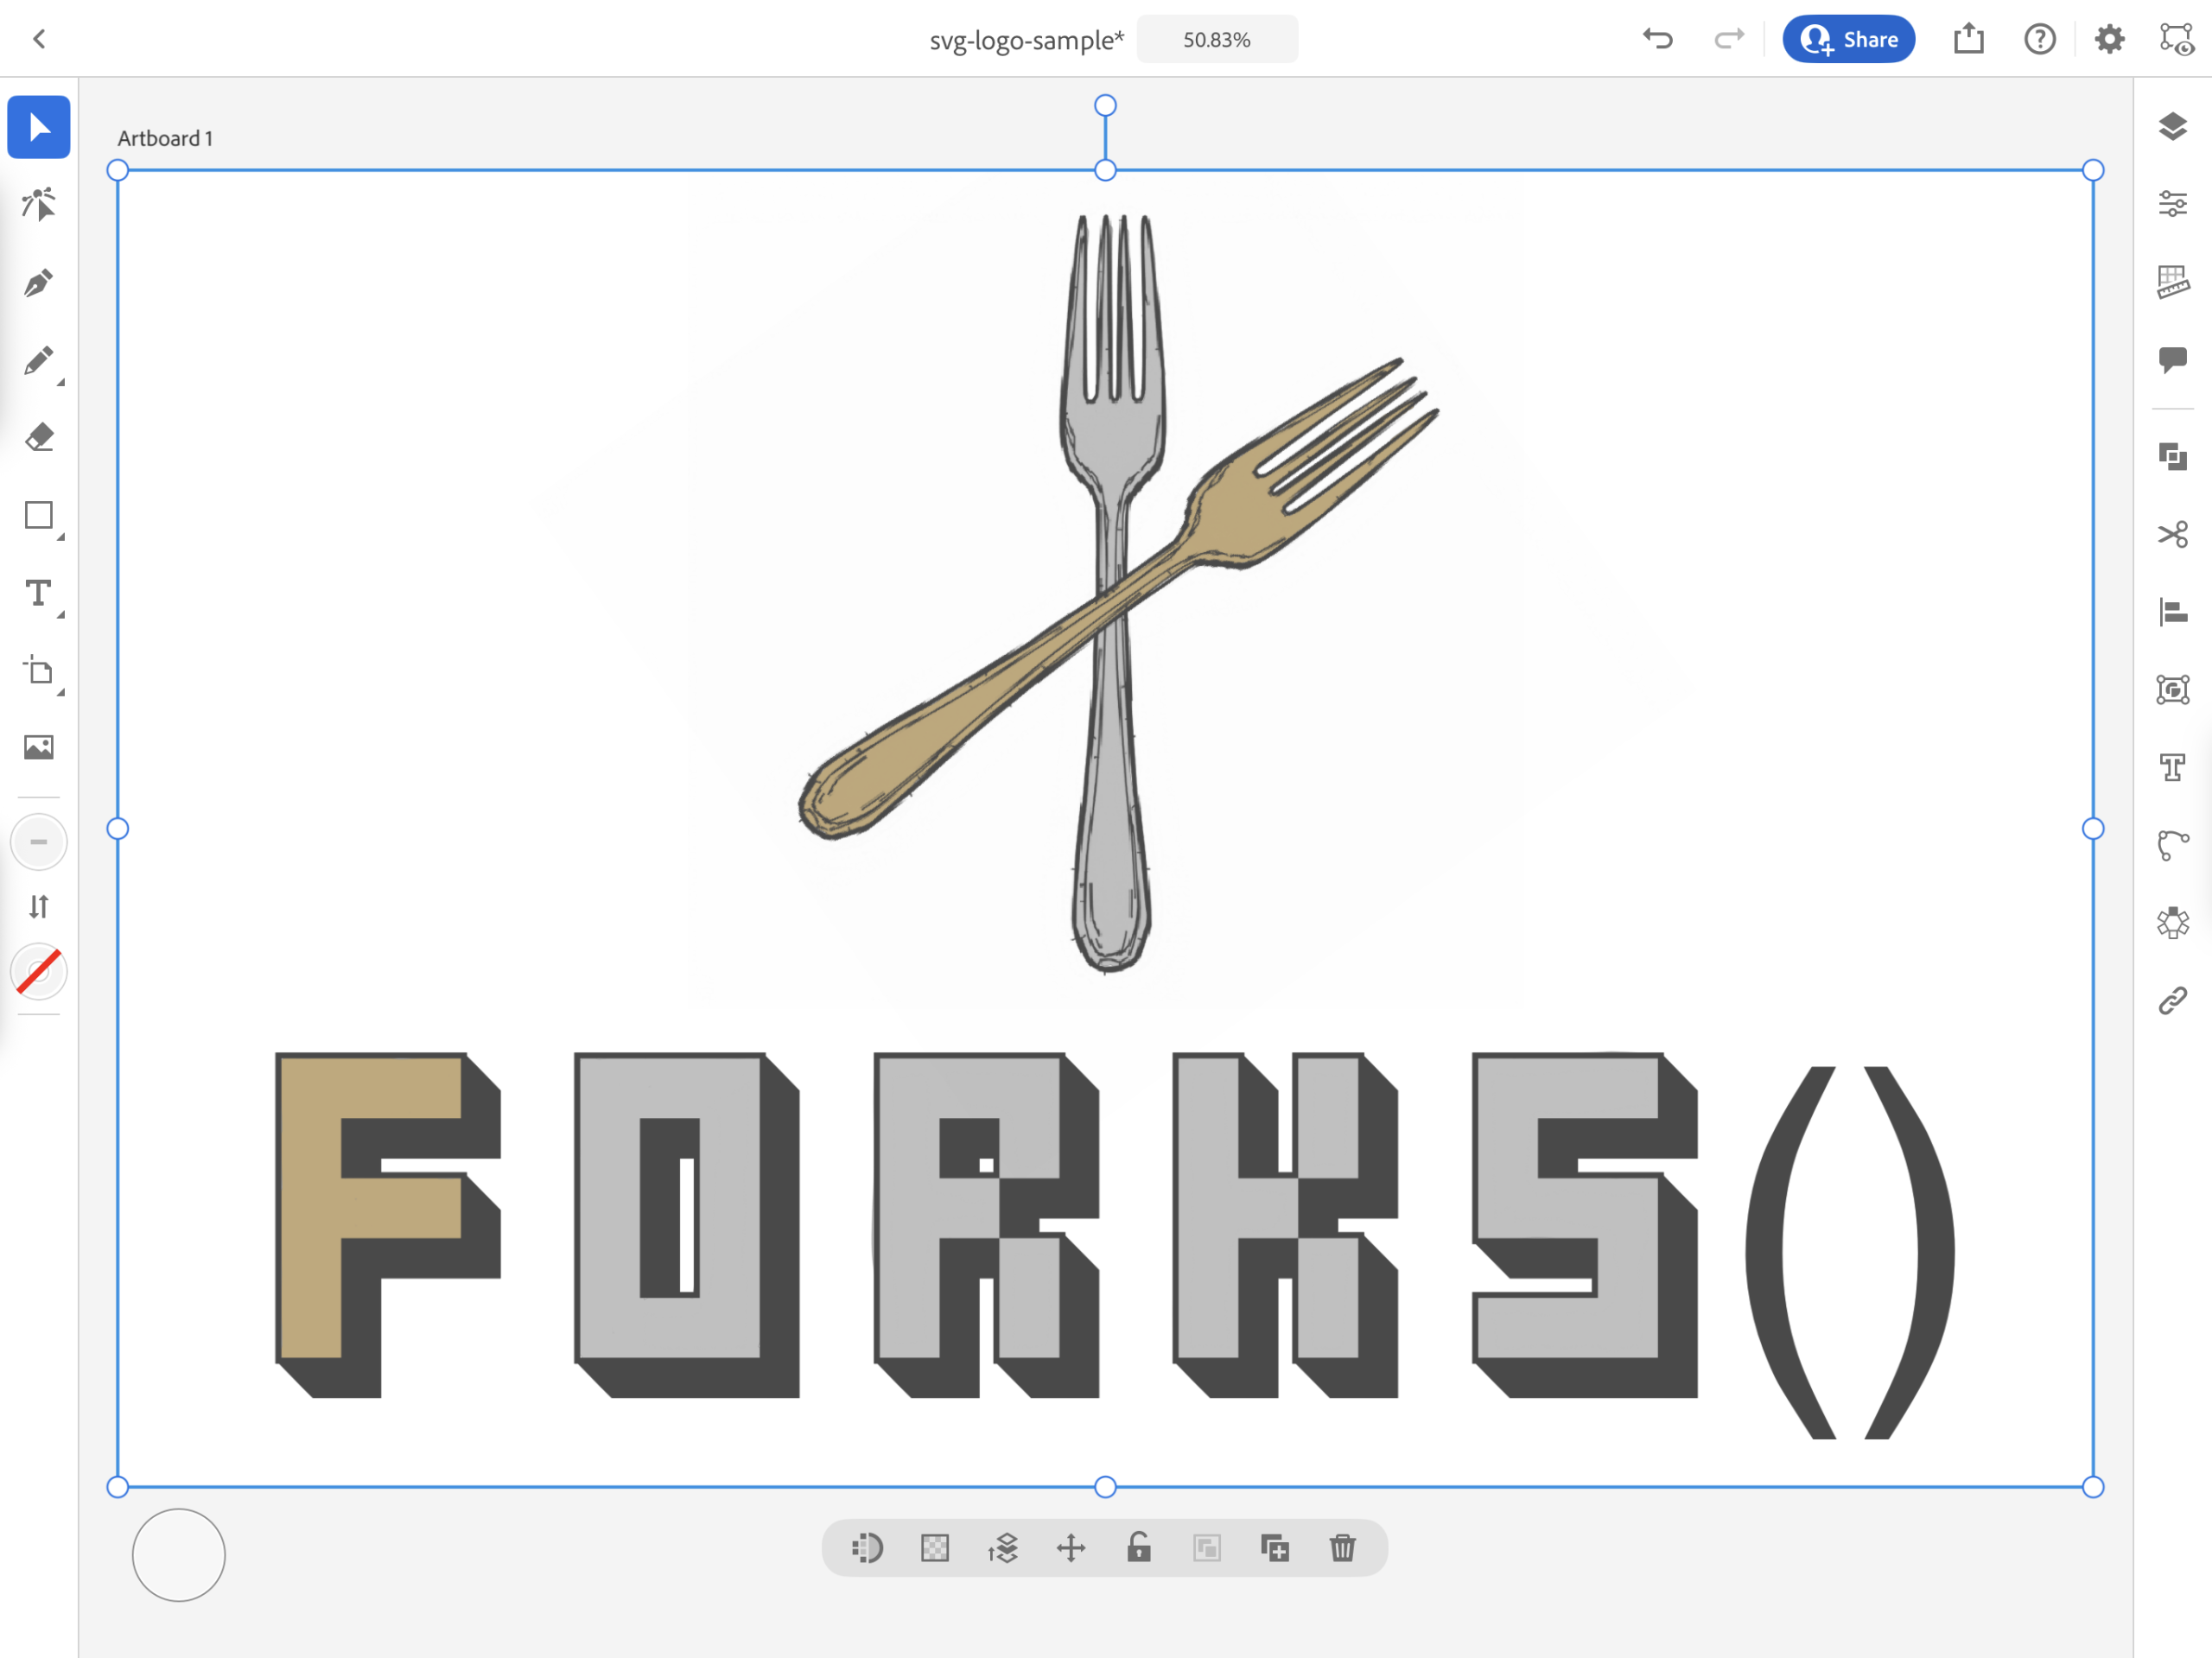
### 3. Vectorize the PNG

With the selector tool still active, click on the Object icon in the right column. That would be the eighth icon from the top. There is only one active item: Vectorize. Click Vectorize to open the options window.
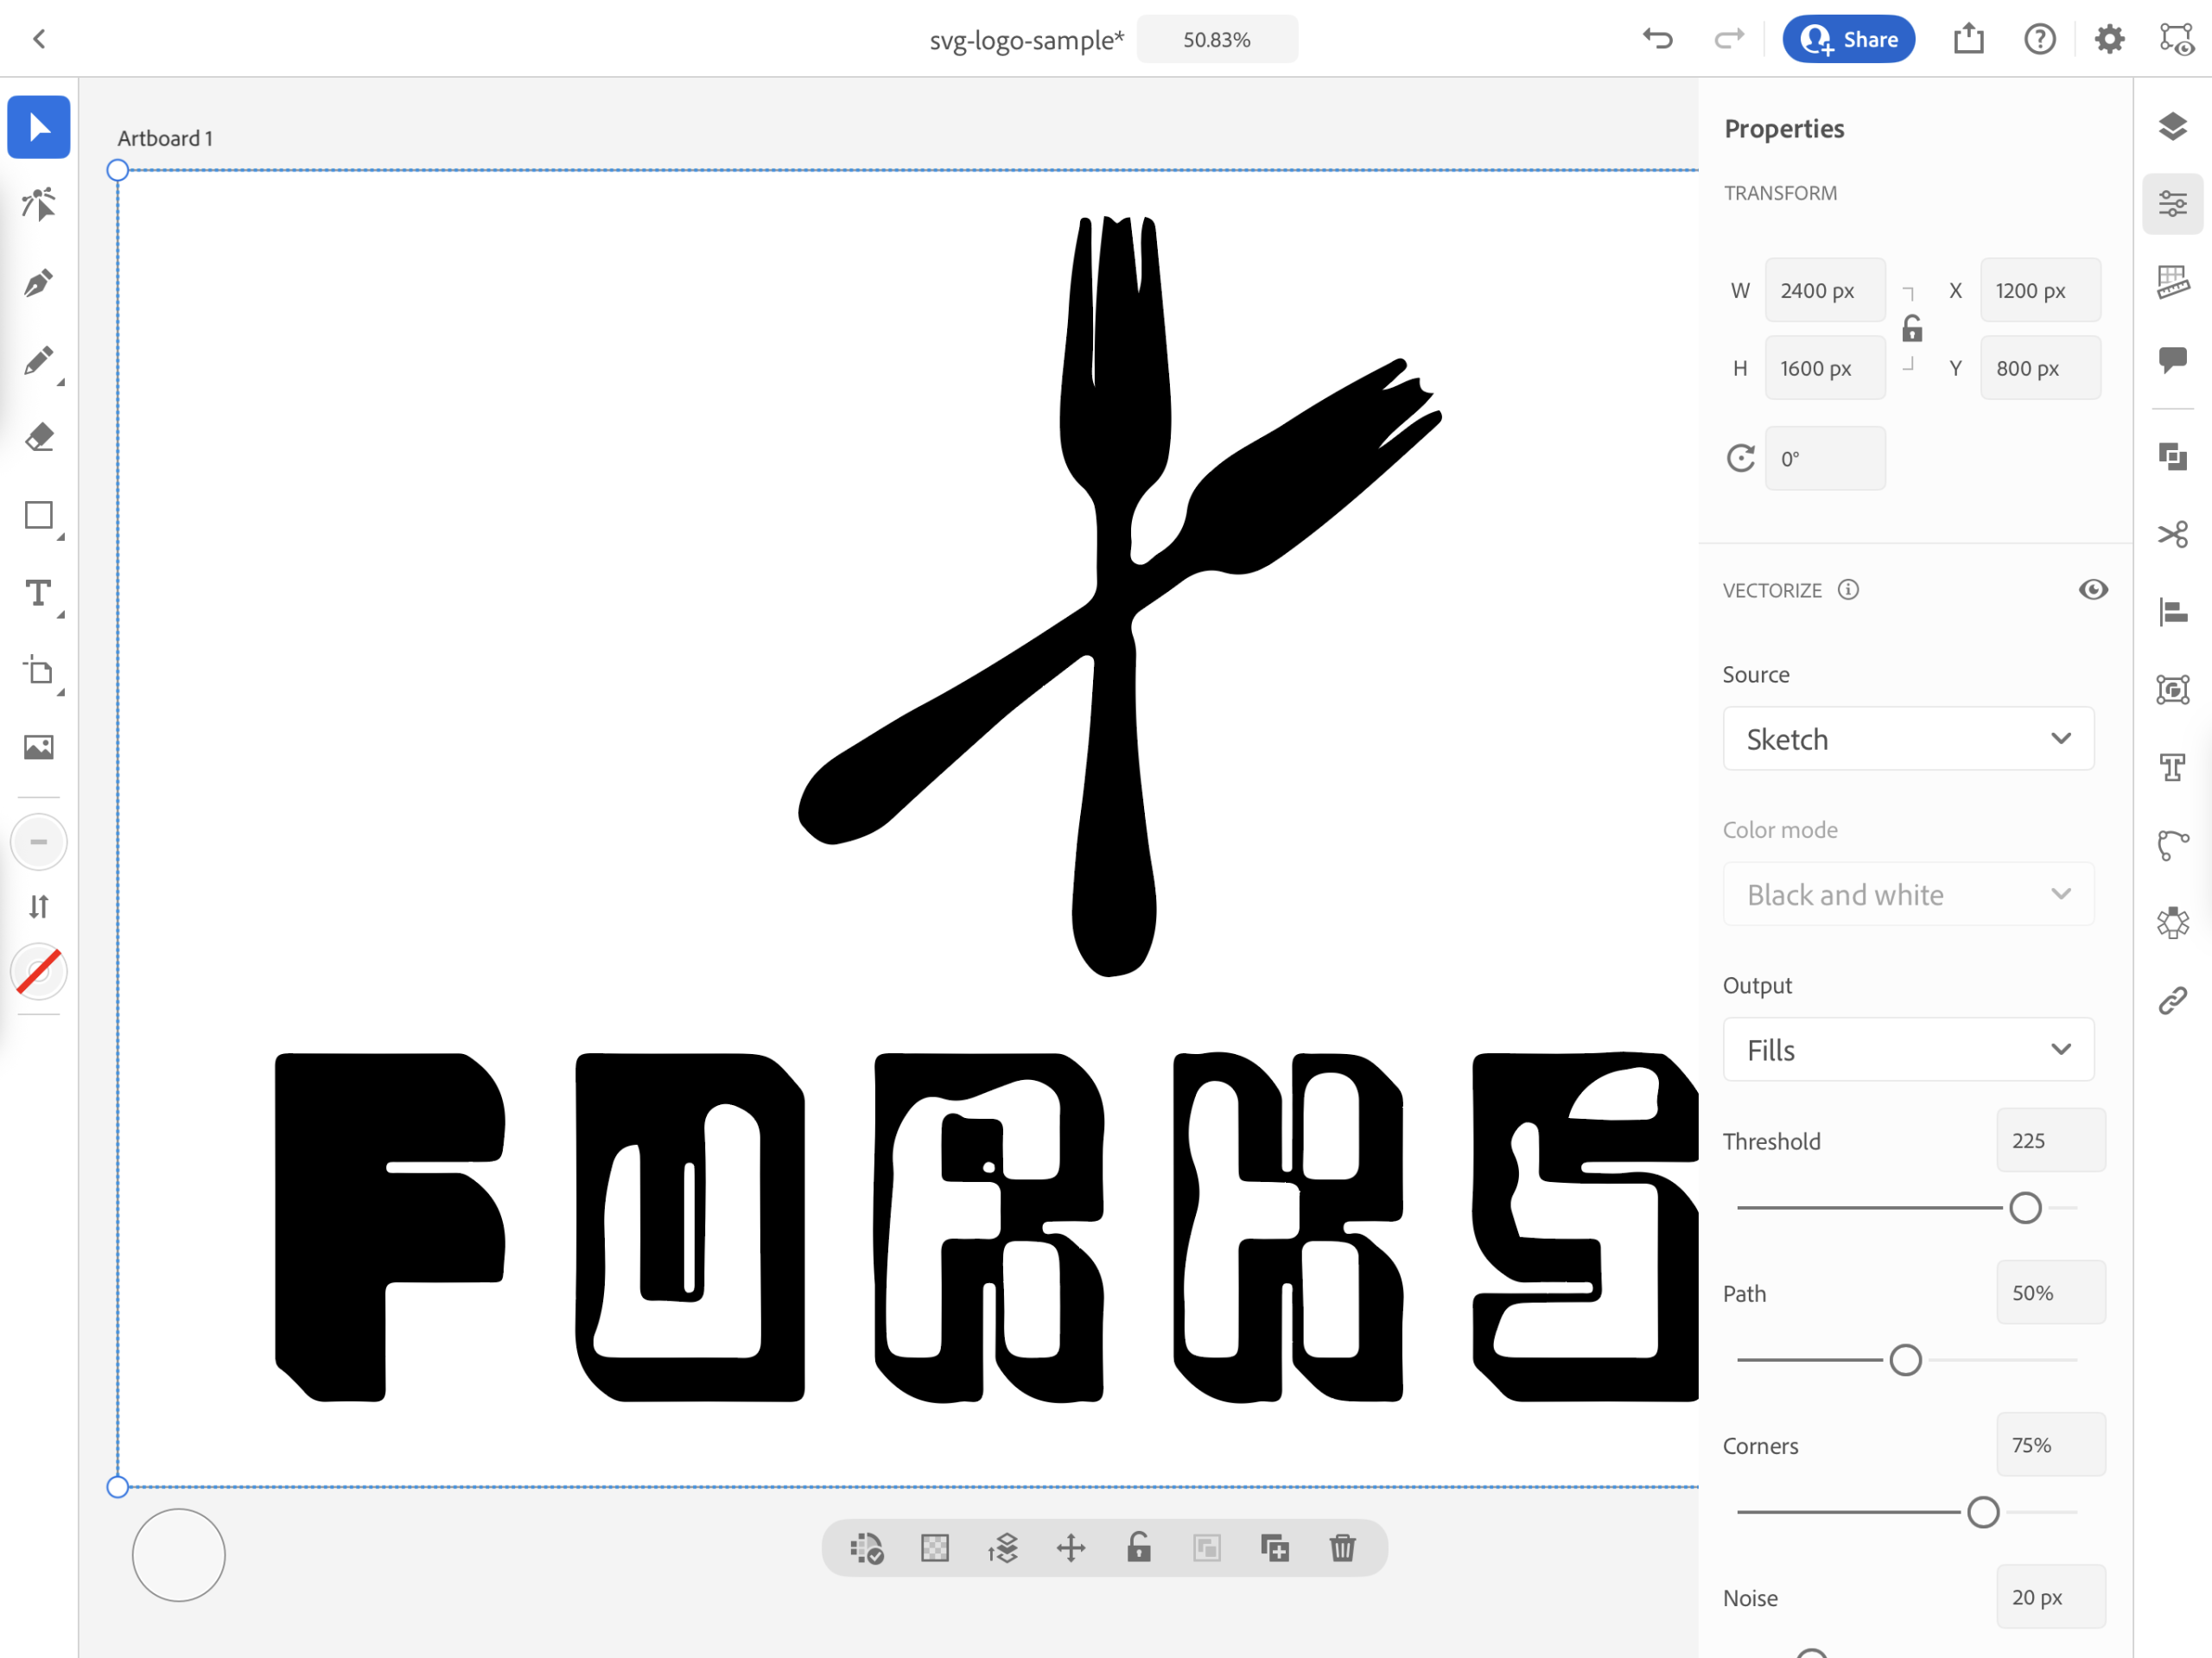
The default setting for the source is Sketch, which is why the Vector version of my original PNG looked like black blobs. Because this is a logo, I chose "Logo" from the Source dropdown. It has now been converted to a vector as it was originally drawn as a PNG.
I also made sure the `Color Mode` is set to `Color`.
Lastly, and this is important: Check the box labeled `Ignore white`, so that the vector is generated with a transparent background. Otherwise, your export will have that unintended rectangular white background along with your newly converted SVG.
### 4. Export the vector image as `.svg`
At the icons above, click on the gray `Share` icon, which is the one next to the blue `Share` button. It should take you to the `Share` window. Then choose `Publish and Export`. It should take you to the `Export` window.

1. Name your file under `File Name` If you haven't done so yet.
2. Under `Format`, choose `SVG`. Leave SVG under `Font`, unless you only want to export the outlines of your vector image.
3. Check `Responsive`. This will make your SVG responsive to different sizes without the blurring that bitmap/raster images cause when you resize them.
4. Unless you have different artboards for one `.ai` file, choose `Full Document`.
5. Finally, click on the `Export` blue button. Save your SVG to whichever folder you remember. Or in my case, I transferred the SVG to my laptop via AirDrop.
### 5. Test your SVG for transparency
You can do this in different ways:
– Place your SVG on your website and preview it over a dark background
– Open another graphics program if you see any unwanted background around it
But in my case, I save my SVG in my site's working folder. I open that folder using **VS Code** and view the SVG. Because I use VS Code in dark mode, it's easier to see if your SVG is on a transparent background.
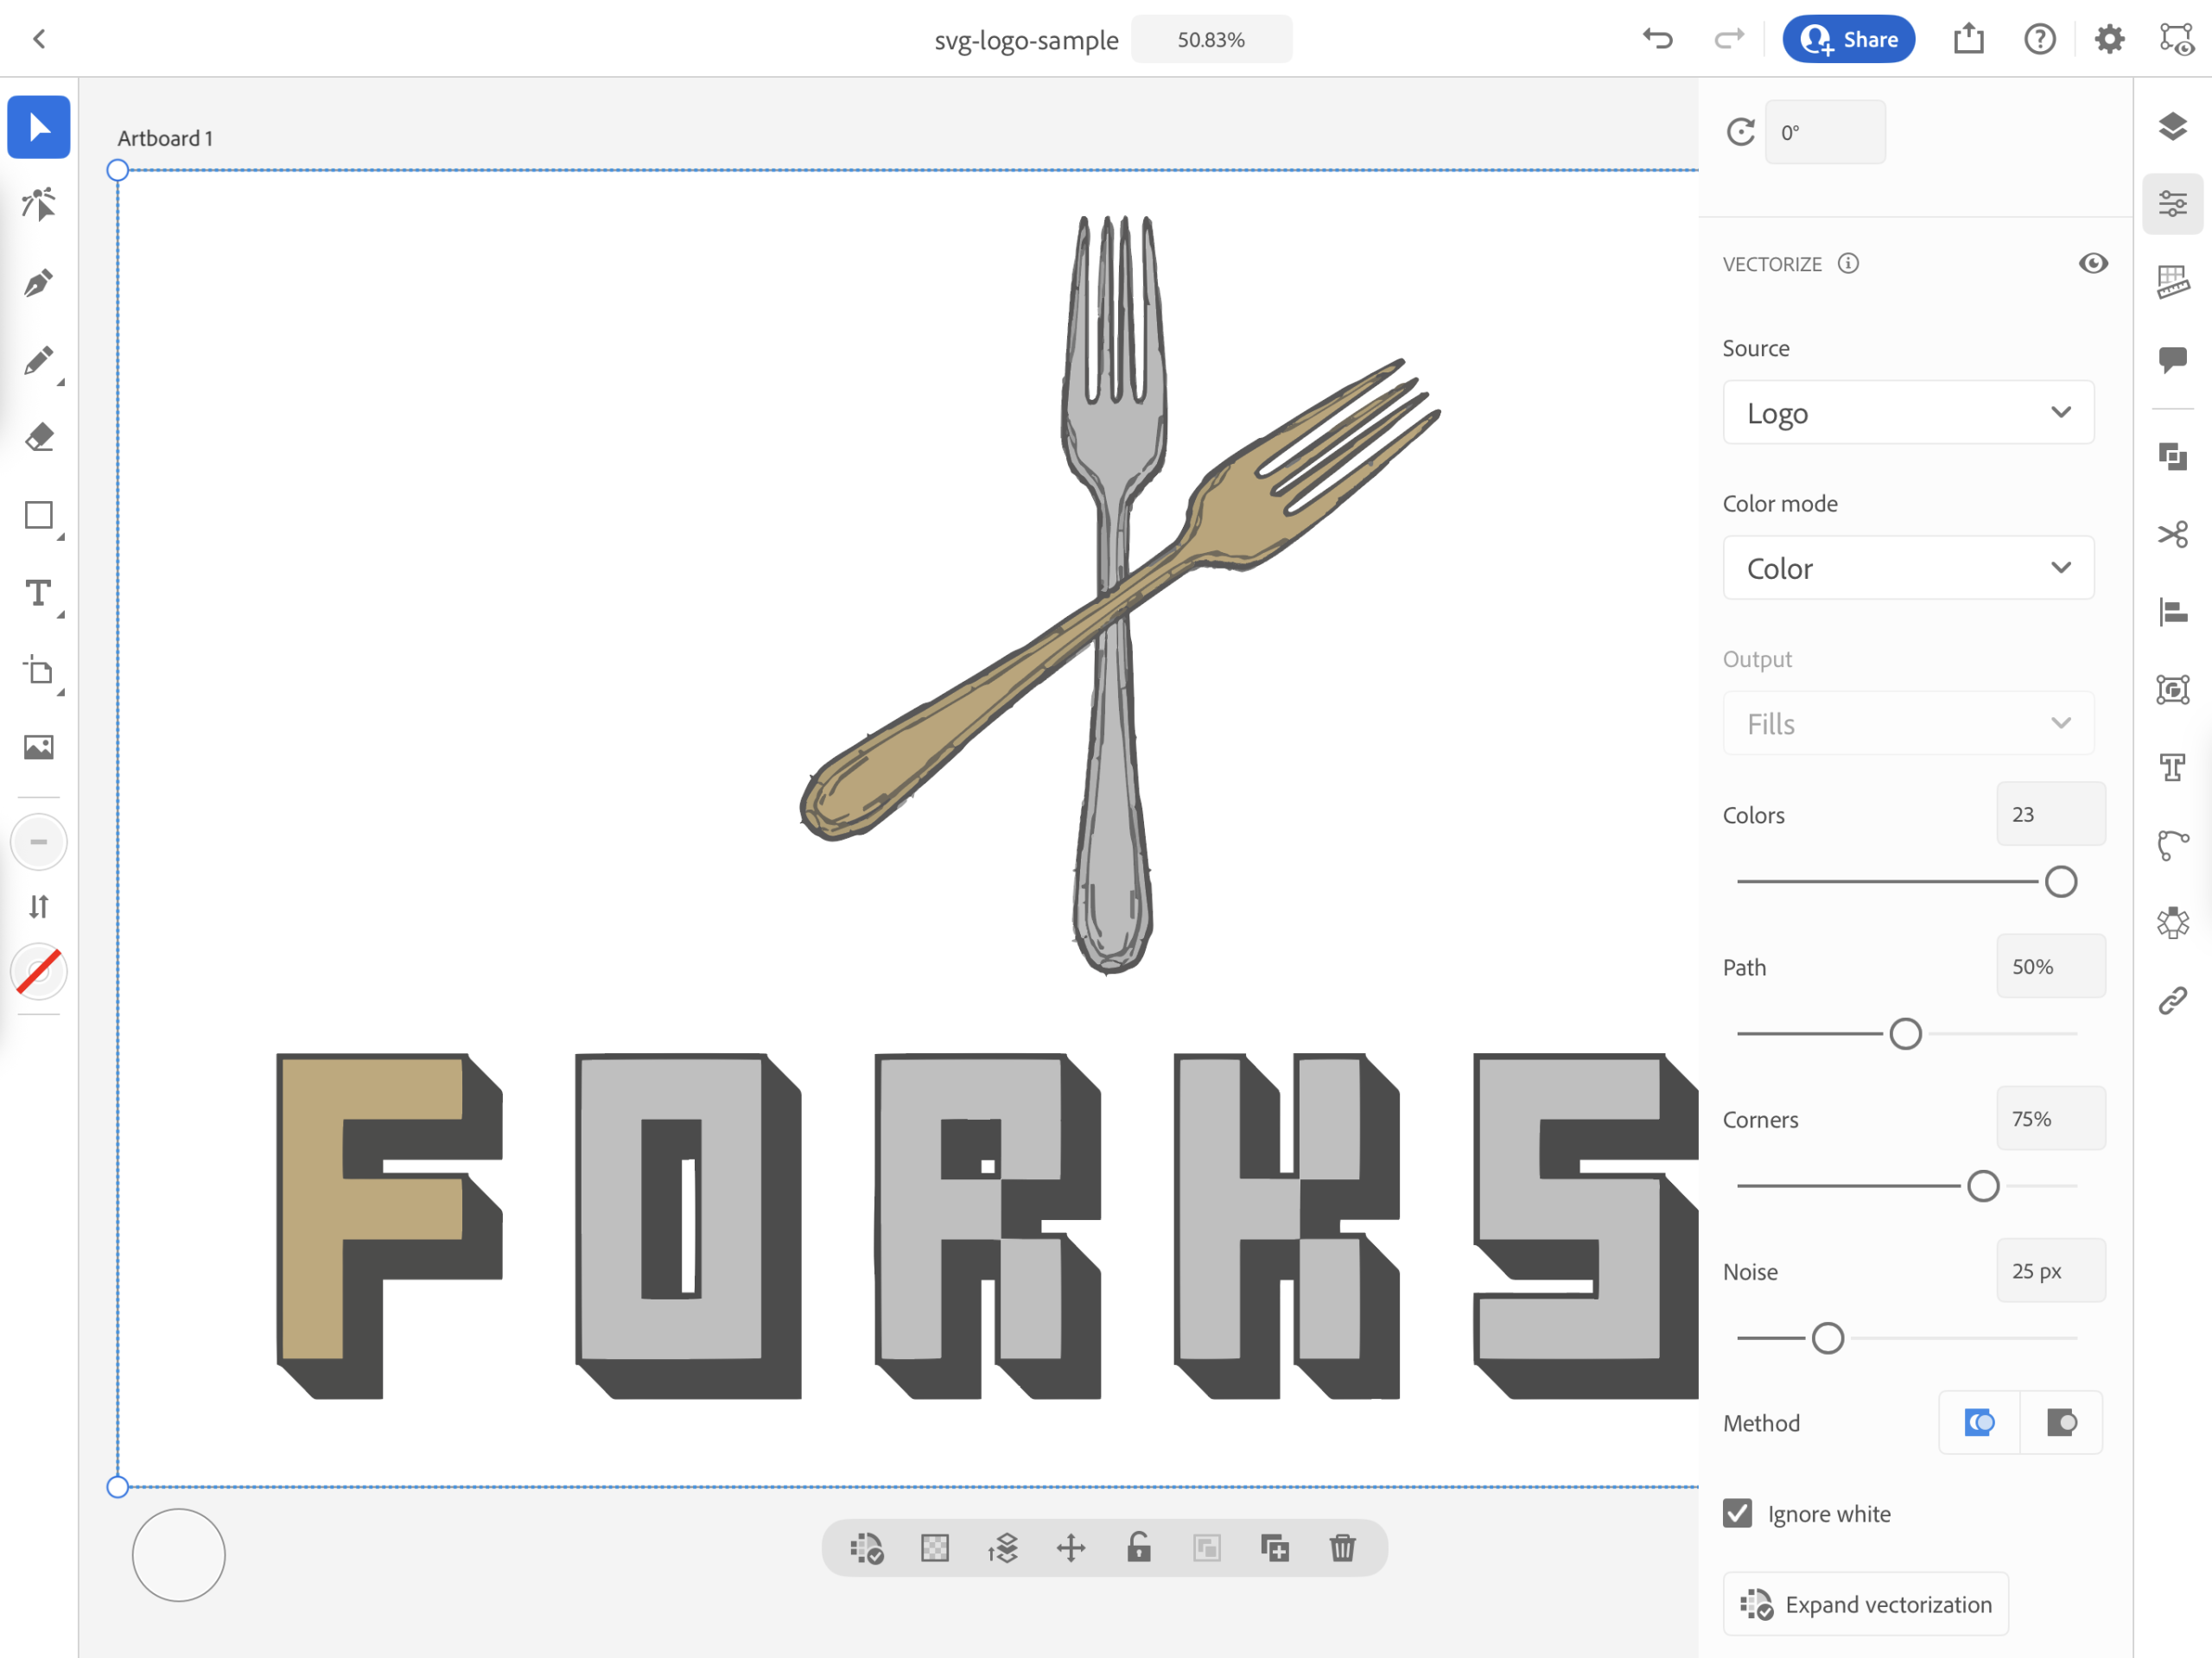
As you can see, my SVG is on a transparent background with no other "extras" or block colors behind it.
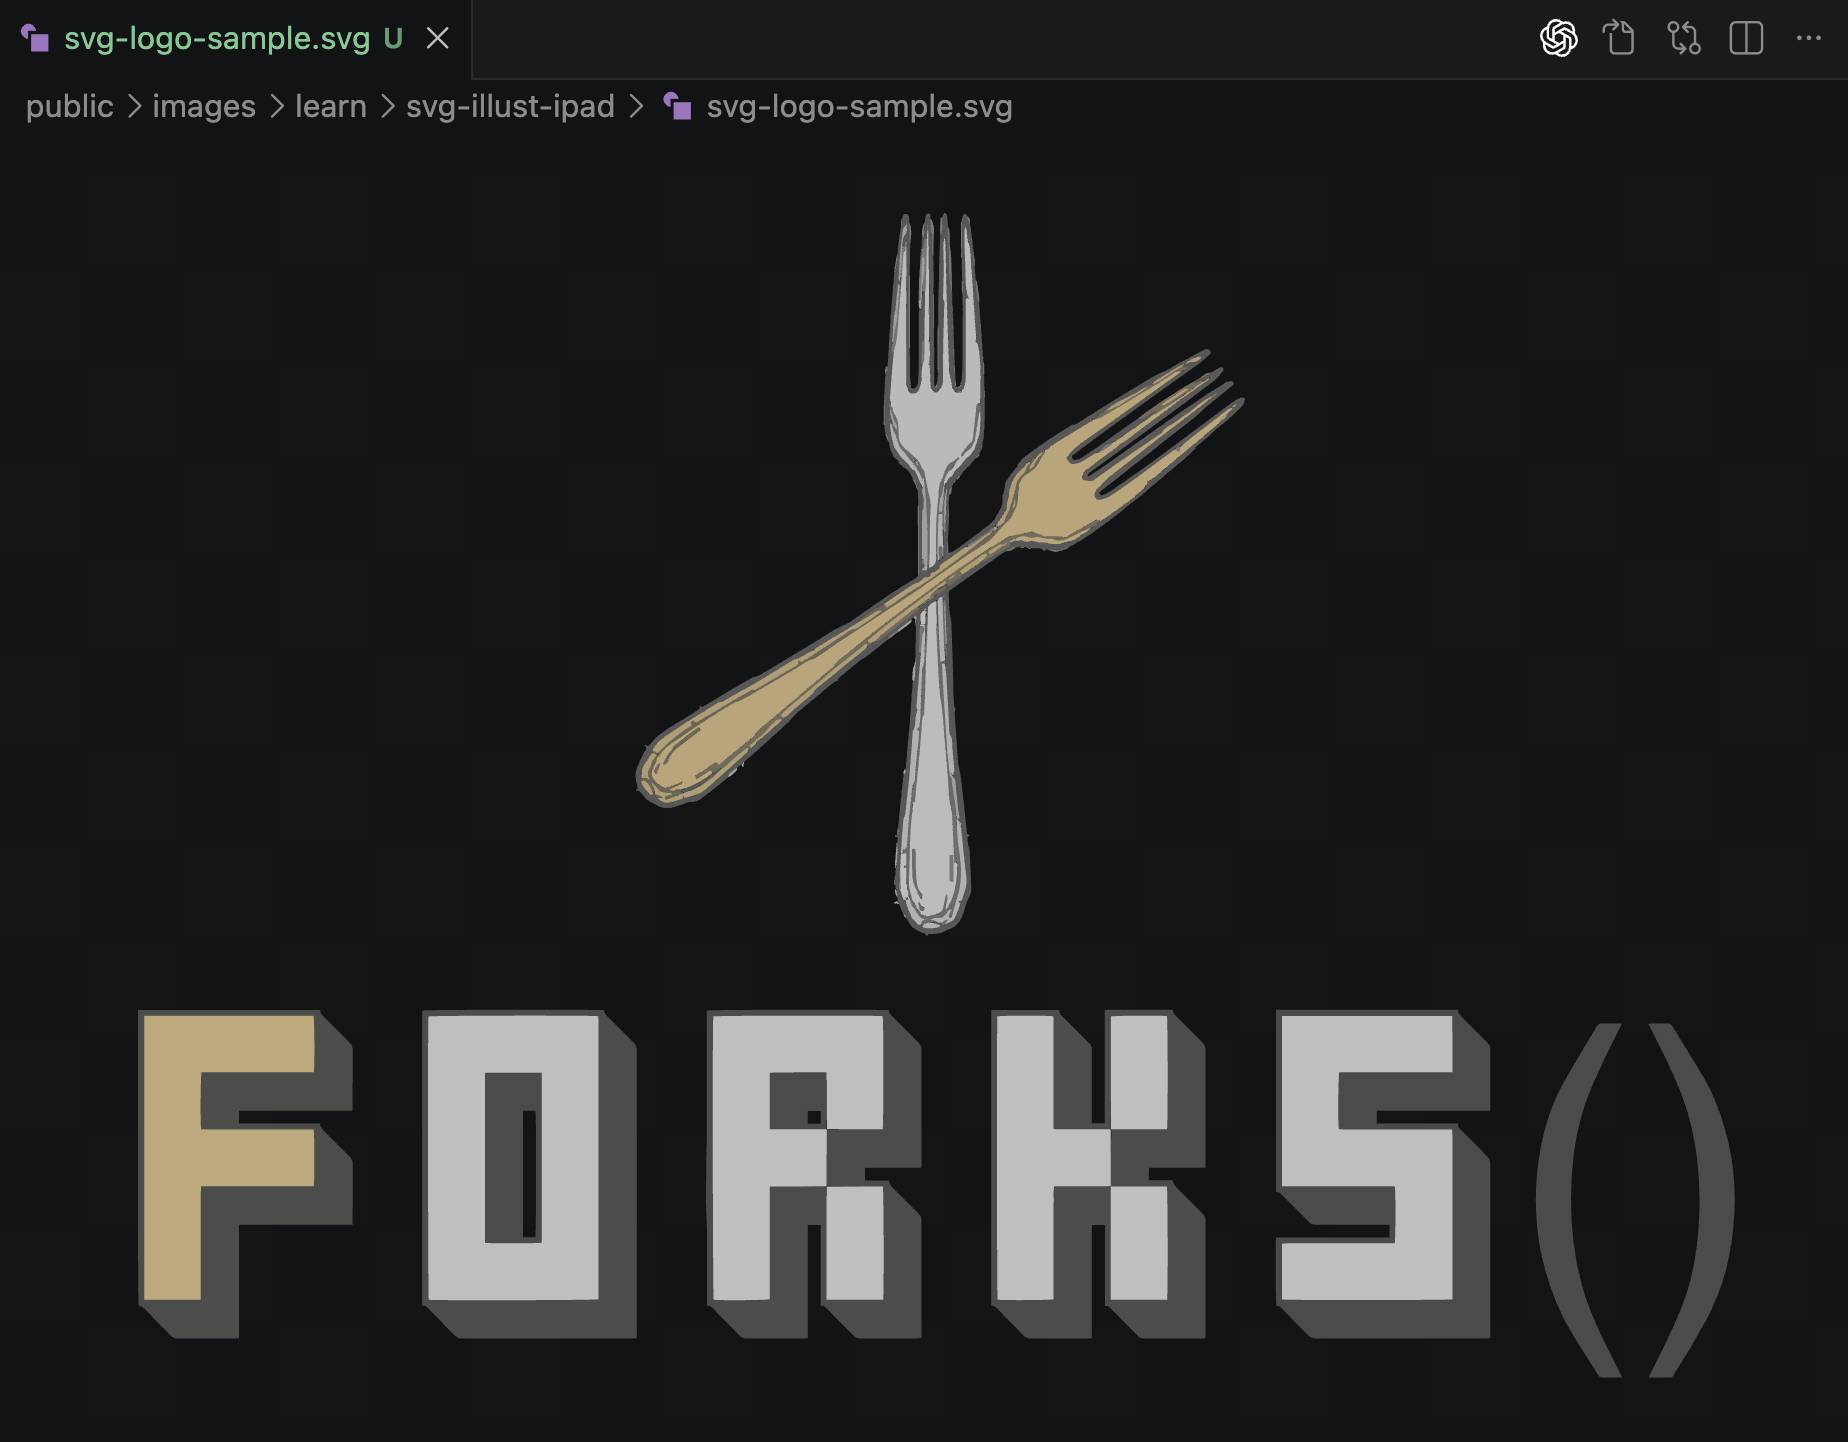
The logo is now ready to use for my project. It can now be resized and still retain its clean, legible quality. Here is the final (for this sample anyway):

—
## Challenges
Because this was the first time I've used Adobe Illustrator on the iPad, it was another learning curve for me. I barely even get by with the desktop version. But here are some of the challenges I faced:
– The iPad version of Illustrator seemed toned down and incomplete. But it had the most important features there. I had to click every single icon to see what each one does. That's why it took me a while to find the Place and Vectorize commands.
– Regarding the Vector window, there is a huge difference between the iPad and desktop versions:
– **iPad version**: `Object` → `Vectorize`
– **Desktop version**: `Window` → `Image Trace`
– On my first export, I didn't see the Ignore white box in the window. When I viewed my first export on VS Code, that white rectangle artboard was also exported. I had to redo the export and check the box before exporting.
—
## Conclusion
I've always wanted to draw original vector graphics on Illustrator. However, I was completely lost with its tools, and drawing was difficult for me. Hopefully, once I learn more about Illustrator for iPad's features, I may start creating logos directly on Illustrator one day.
There are still plenty of ways to convert raster images to vector, exporting them as SVG. Using Adobe Illustrator for iPad is just one of them.
I began the initial work for my next website project, Forks. More information on this project is coming soon, but that’s all I’d like to share for now.
During my initial brainstorming, I would sketch a mockup (in my head) of how I’d like the Forks website laid out. Along with the mockup sketches, I also brainstorm how my site logo is going to look like. I have a digital design educational background, and no matter how much I delve deep into coding and development, the artist/designer within me still lingers.
But as we hobbyists and professionals know, SVGs are a necessity for our illustrated logos to be responsive across different screen sizes. We apply responsive web design in our CSS, so we do the same with our logos. After all, the logo gives our projects a unique brand, and it will be the first thing visitors look at when it’s right at the center, clean and crisp.
I already knew how to convert transparent PNGs into SVGs using Adobe Illustrator on desktop. However, I purchased a new MacBook Air last year with only 256GB of internal space. Adobe software is a hog of internal space, and I had to uninstall the two storage-greedy apps from the Creative Suite: Illustrator and Photoshop. I have gotten used to creating my artwork and graphics on my iPad and have decided to download both Illustrator and Photoshop on it.
When I opened Illustrator for iPad, it looked like a whole different program than the Illustrator for desktop. In the desktop version, I could easily read the labels and find the functions I needed. In the iPad version, on the other hand, all I see are buttons and icons.
My logo-making process, step by step
I. Procreate
Procreate has become my go-to raster illustration program. I created my logo for Forks with only three colors: black (for the outline), gold, and silver, knowing vector illustrations are always flat colors.
Right after I finished, I exported the logo as a transparent PNG.
Photoshop used to be my go-to program, but it was primarily for creating digital graphics, not so much for digital illustration. You can create your raster images with any program you want. Or if you’re an expert vector illustrator, just use a vector program like Illustrator to create your logo directly. I’m not very well-versed with Illustrator or any vector program like Affinity Designer or Inkscape, so I chose to create my logo using Procreate.
II. Adobe Illustrator for iPad
Before this, I used the following for vector art conversions:
- Affinity Designer 2: Unfortunately, I blanked out when I opened this program on my iPad. I rarely do vector art conversions; therefore, I’m not used to using this software. I purchased this program years ago, before Affinity got acquired by Canva. Until the iPad version of Illustrator was released, I’m stuck with this program.
- Adobe Express: Did you know that this program can also convert transparent PNGs to SVGs? Unfortunately, the converter is very limited. It doesn’t give you options on expanding the vectors to include colors as well. I decided to turn to another program.
- Vectorizer.AI: It’s not free ($9.99/mo), so I skipped that one. I’m sure it does a really good job converting PNGs to SVGs with just a few prompts. But maybe it uses up a lot of power to get the AI to do its vectorizing properly.
- VectorMaker: Very simple vector conversion service. Just upload your transparent PNG, and you’ve got your vector file, ready to be saved as an SVG image. I had one of my PNG logos converted with this method and it vectorizes it cleanly, so I was happy with the result. However, because it is on a web browser, you have to be online/have wi-fi access to get to it. I create all of my graphics with the iPad at random places besides home, and I’m the type who wants to get all my images ready-made before using them for final production. This was why I prefer having my own vectorizer that doesn’t require a wi-fi access.
As much as I love VectorMaker, it also doesn’t offer options to customize how my vector image looks. That is where Adobe Illustrator’s vector conversion comes into play.
1. Open Adobe Illustrator and Create a New File

I created my logo on Procreate with a 2400 x 1600 canvas. Therefore, I use the same dimensions for my logo’s artboard. You also have the option to create a preset for this size, which is what I did here (Text Logo).
Make sure you also name your file to the appropriate image name while you’re at it.
2. Place the transparent PNG on the artboard
As you can see, there are mostly icons and buttons, and very few text labels. I had to click every single icon and button to find what I was looking for. To place your transparent PNG, click the image icon (the last icon before the first border). The PNG should occupy the entire artboard.
Keep the selection tool on for the next step, as shown below.

3. Vectorize the PNG

With the selector tool still active, click on the Object icon in the right column. That would be the eighth icon from the top. There is only one active item: Vectorize. Click Vectorize to open the options window.

The default setting for the source is Sketch, which is why the Vector version of my original PNG looked like black blobs. Because this is a logo, I chose “Logo” from the Source dropdown. It has now been converted to a vector as it was originally drawn as a PNG.

I also made sure the Color Mode is set to Color.
Lastly, and this is important: Check the box labeled Ignore white, so that the vector is generated with a transparent background. Otherwise, your export will have that unintended rectangular white background along with your newly converted SVG.
4. Export the vector image as .svg
At the icons above, click on the gray Share icon, which is the one next to the blue Share button. It should take you to the Share window. Then choose Publish and Export. It should take you to the Export window.

- Name your file under
File Name If you haven’t done so yet.
- Under
Format, choose SVG. Leave SVG under Font, unless you only want to export the outlines of your vector image.
- Check
Responsive. This will make your SVG responsive to different sizes without the blurring that bitmap/raster images cause when you resize them.
- Unless you have different artboards for one
.ai file, choose Full Document.
- Finally, click on the
Export blue button. Save your SVG to whichever folder you remember. Or in my case, I transferred the SVG to my laptop via AirDrop.
5. Test your SVG for transparency
You can do this in different ways:
- Place your SVG on your website and preview it over a dark background
- Open another graphics program if you see any unwanted background around it
But in my case, I save my SVG in my site’s working folder. I open that folder using VS Code and view the SVG. Because I use VS Code in dark mode, it’s easier to see if your SVG is on a transparent background.
As you can see, my SVG is on a transparent background with no other “extras” or block colors behind it.

The logo is now ready to use for my project. It can now be resized and still retain its clean, legible quality. Here is the final (for this sample anyway):

Challenges
Because this was the first time I’ve used Adobe Illustrator on the iPad, it was another learning curve for me. I barely even get by with the desktop version. But here are some of the challenges I faced:
- The iPad version of Illustrator seemed toned down and incomplete. But it had the most important features there. I had to click every single icon to see what each one does. That’s why it took me a while to find the Place and Vectorize commands.
- Regarding the Vector window, there is a huge difference between the iPad and desktop versions:
- iPad version:
Object → Vectorize
- Desktop version:
Window → Image Trace
- On my first export, I didn’t see the Ignore white box in the window. When I viewed my first export on VS Code, that white rectangle artboard was also exported. I had to redo the export and check the box before exporting.
Conclusion
I’ve always wanted to draw original vector graphics on Illustrator. However, I was completely lost with its tools, and drawing was difficult for me. Hopefully, once I learn more about Illustrator for iPad’s features, I may start creating logos directly on Illustrator one day.
There are still plenty of ways to convert raster images to vector, exporting them as SVG. Using Adobe Illustrator for iPad is just one of them.